
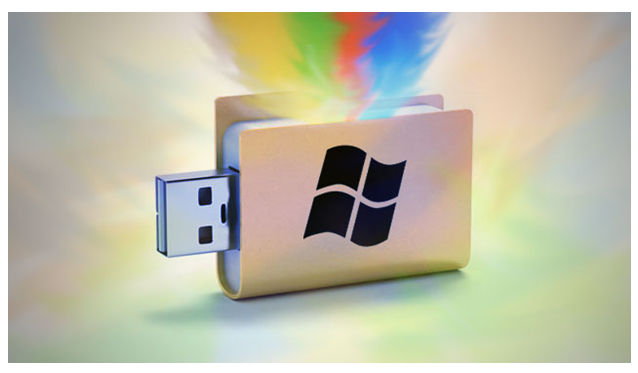
The Netbook market is going strong because these ultra potable laptops are extremely attractive to college students and business individuals. You won’t only find this laptop affordable, but also very capable as they are very convenient to carry and leverage long lasting battery life, so you can use these devices on the go for long sans any trouble. Netbooks are so well designed and weighs around three pounds. Its weight factor allows you to take it anywhere with you. Most Netbooks come with 6 or 9cell battery that allows you to work for 7-9 hours without charging. It is an ideal device if you are looking for something affordable for your small business or college program.But with all its capabilities, Netbook misses one very important component; the optical drive. Although, almost everything that you do from a CD or a DVD can be done without it, but you may feel the need at some point of time, especially when you need to install or re-install Windows OS on your device.But before you get disheartened, you can use USB devices to boot your Netbook. For that you need to make your data traveler or USB bootable.
Follow the below steps and Boot your Netbook using USB:
- First, acquire a USB drive of adequate size to contain the OS installation files that you wish to install (in this case Windows).
- Before operating, just make certain that the drive is entirely unfilled of its contents. If you have any important stuff in your USB, you need to transfer it elsewhere. After you have shifted the files elsewhere, perform a quick format.
- Connect your USB drive into a USB slot on your computer.
- Make certain that the drive is recognized; make a note of the drive letter. Suppose your drive is X:\
- Go to the start menu and using“Administrator credentials”, open a command prompt.
- You need to run few commands using the DiskPartUtility, once your command prompt is open.
- You need to decide which disk is your USB drive, once DiskPart is open. Your internal hard disk is assigned the first ordinal disk number which is 0 by default. In case, if you have any extra internal disks, then they will be assigned as ext ordinal numbers 1, 2 etc. Subsequently, you need to type “List Disk” (without quotes) and press enter.
- Now that you have DiskPart running, and already identified the USB disk, you are going to run a series of commands. Each command should be allowed to execute completely before running the next command.Below are the following command that you have to type:(*All the commands mentioned above should be used excluding the quote symbol.)
- Type “Select Disk 1” and then press enter
- Type “Clean” and then press enter
- Type “Create Partition Primary” and then press enter
- Type “Select Partition 1” and then press enter
- Type “Active” and then press enter
- Type “Format=NTFS” and then press enter
- Type “Assign” and then press enter
- Type “Exit” and then press enter
- You need to leave the command prompt open for now and put the Windows CD into your DVD drive. You are installing a Windows Operating System, so you have to go back to command prompt and change to the DVD drive to a directory called “BOOT” on the DVD. Now, you have to type the following command:(*All the commands mentioned above should be used excluding the quote symbol.)
- Type “D:cd boot” and then press enter
- Type “Bootsect.exe/nt60 X:” and then press enter.
- You are almost through, just one step left. You just need to use Windows Explorer, go to the DVD and copy ALL of the files to the USB drive.
Now that you are done with all the above steps, your USB drive is perfect to use on any Netbook whenever you want to.